Strozzapreti
In this journey of pasta-making, I sometimes strive for complete perfection, to make something so uniform it could pass for professional quality. Other times, however, I just want something simple. Rustic. There’s something to be said for knowing something is homemade by just looking at it. Irregularities carry a certain sense of charm, and are proof of the loving work that went into a hand-formed product.
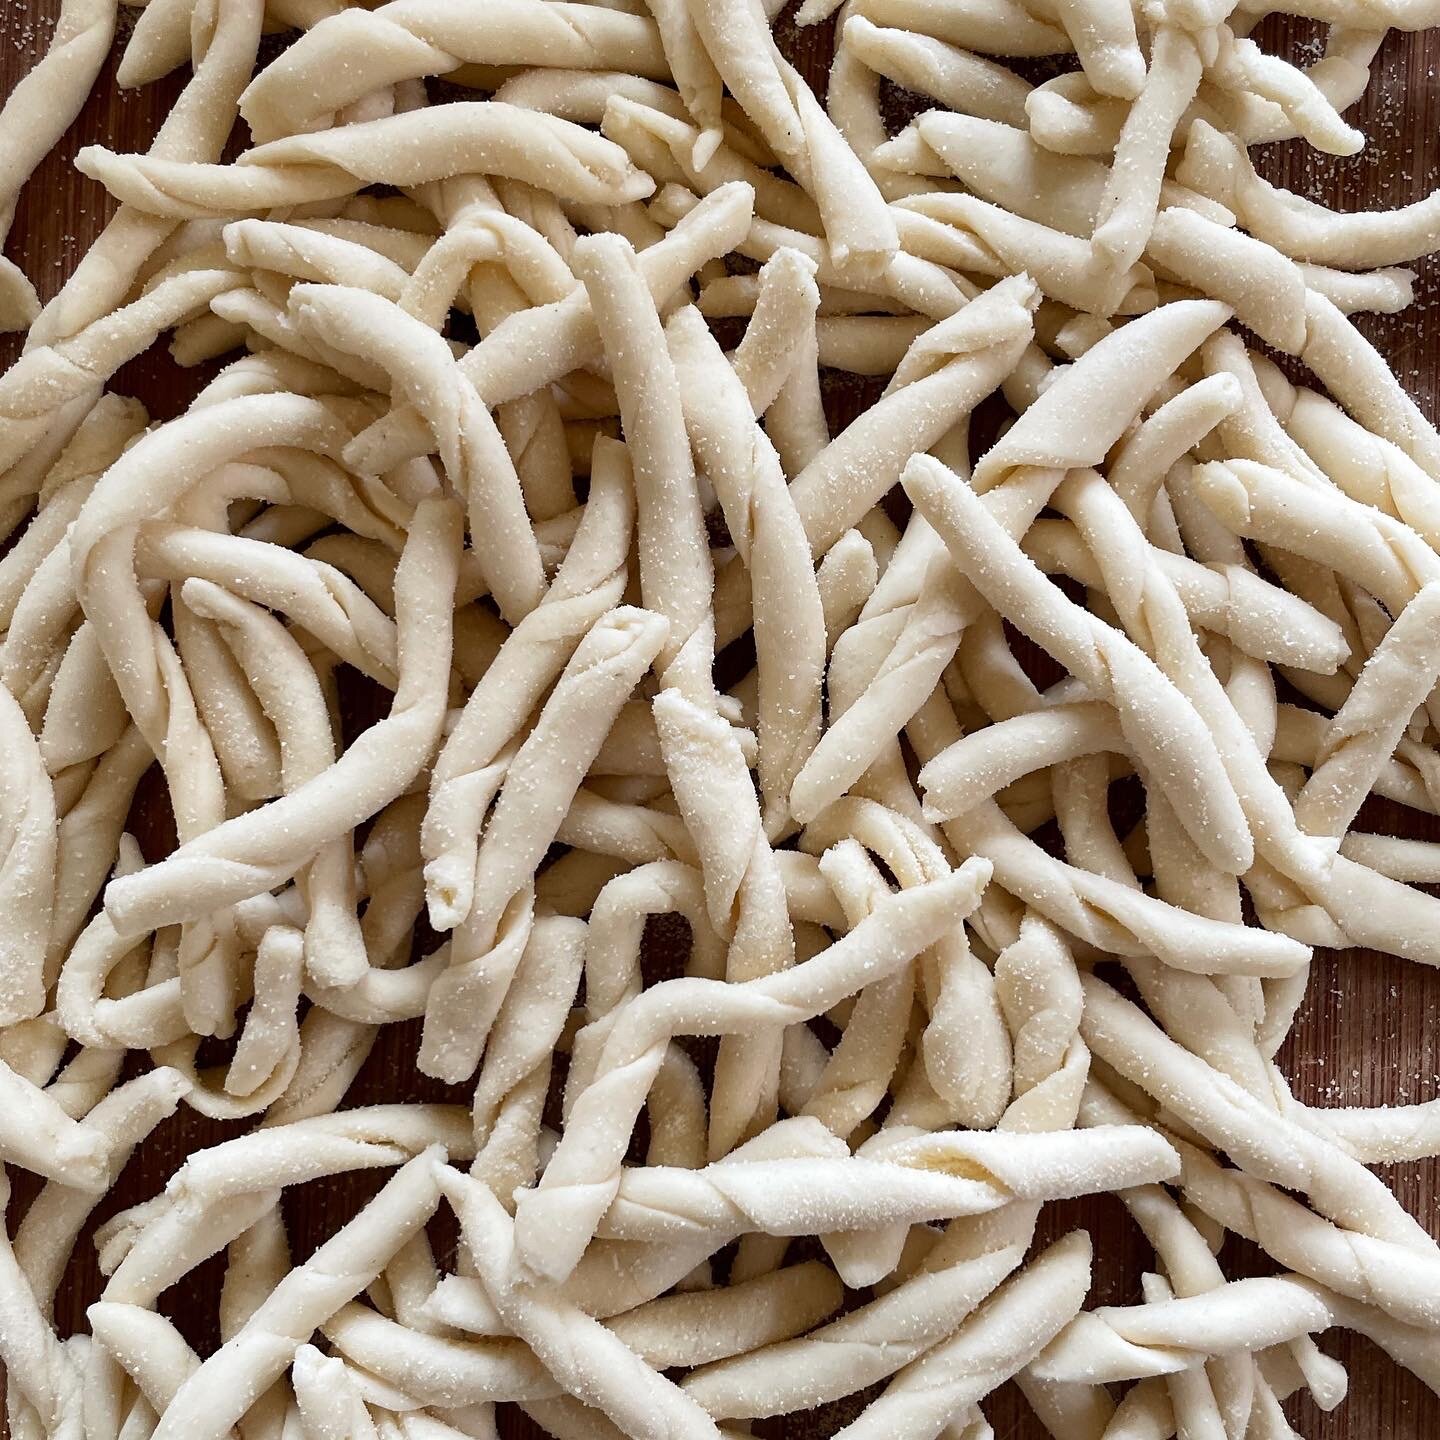
Strozzapreti are the perfect pasta to really show off that rustic feel. They’re an easy shape, too, and you can make large quantities relatively quickly. Their “imperfections” are what make them delicious; each one is rough and irregular, which means there are plenty of cracks and crevices that hold onto whatever sauce you serve them in.
The method is very simple, but first I’d like to get into their history a bit. Strozzapreti are one of those pastas that date back hundreds of years, and accordingly can refer to a host of different variations across several regions in Italy.
The section on this shape in Oretta Zanini de Vita's Enclyclopedia of Pasta is a few pages long, and notes they can be made with a variety of flours, and sometimes even with the inclusion of potato or leavened bread dough, depending on where you are.
There is even a Pasta Grannies video featuring two friends in the same town who make them differently - one adds in a bit of egg, while the other sprinkles in some cheese.
The origin of the name, literally meaning “priest-choker” or “priest-strangler” is also not set in stone. There are a few legends, though. One says that priests, who used to have quite the reputation for gluttony, ate too much too quickly, and choked accidentally. Other versions of the story refer to housewives or farmers who may have actually wished that local clergymen would, in fact, choke on this pasta!
Now, on how to make them:
I came to know strozzapreti due to their popularity in Romagna. I personally never encountered any of the more complex variations, and usually just came across a simple flour and water preparation.
You can choose to use either 00 flour or semola rimacinata di grano duro (or a mix of the two)! I like to have at least of bit of semola in my dough for the extra bite, but it is traditional in several regions to use only 00 flour.
Either way, you want to make a dough that is soft and workable, so a recipe at 50% hydration is best. This means for every 100g of flour, you should use 50g of water. You can also add in a pinch of salt. I usually plan on 100g of flour per person, which will yield pretty sizeable portions.
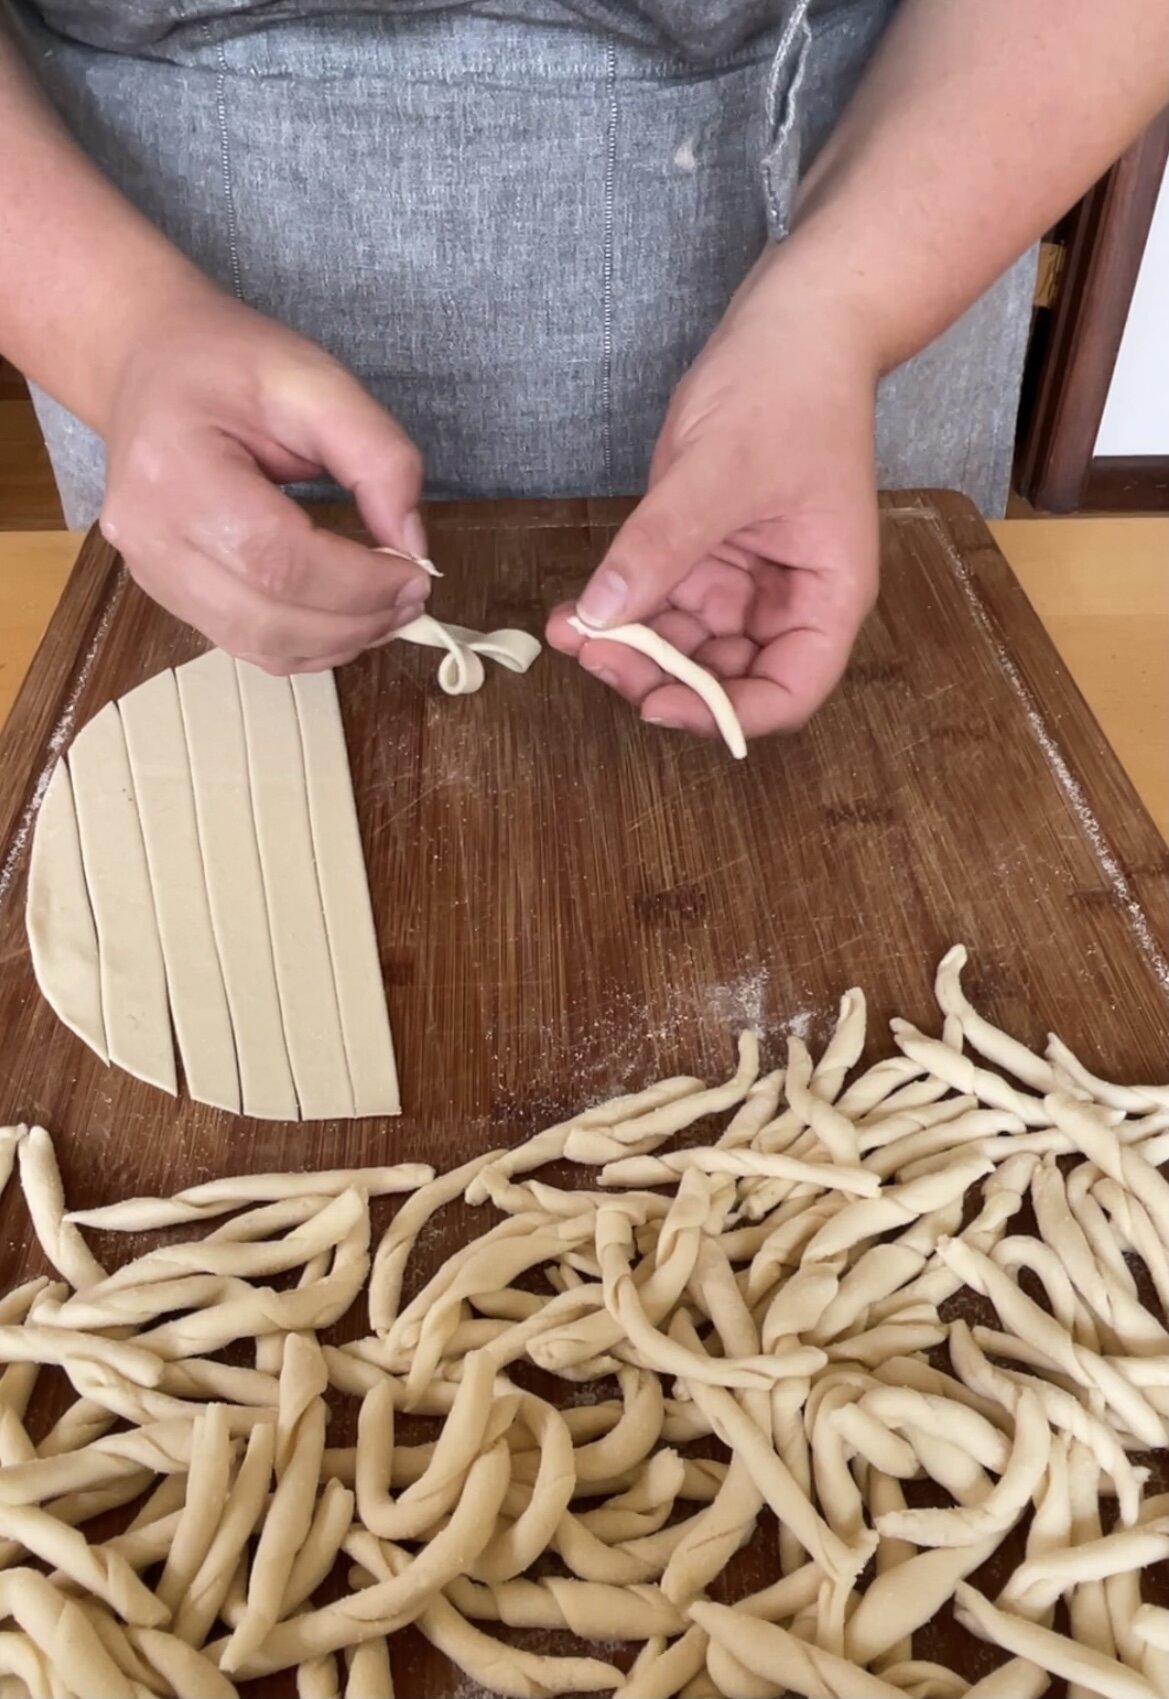
After making your dough and letting it rest, roll it out to 2mm thin, and cut strips that are around 1.5cm wide.
Next, take a strip of dough, tug slightly on the ends to stretch it a bit, and roll it between your hands to securely twist it. Use swift, fluid movements, working from the bottom of one palm upwards, as shown below. Pinch off rolled pieces every 7cm or so, and continue until the strip is finished. Then repeat with all the remaining strips of dough. I have a video on my Instagram as well, if you need another visual to get the movement down.
The result should be an irregular, chewy, slightly thick pasta. Cook immediately in plenty of salted water.
Strozzapreti are dressed differently depending on the region and season, but often go well with heartier meat or fish sauces.
I served mine with a simple tomato and basil sauce, though, as it’s summer and I didn’t want anything too heavy!


