
Busiate con Pesto di Pomodori Secchi

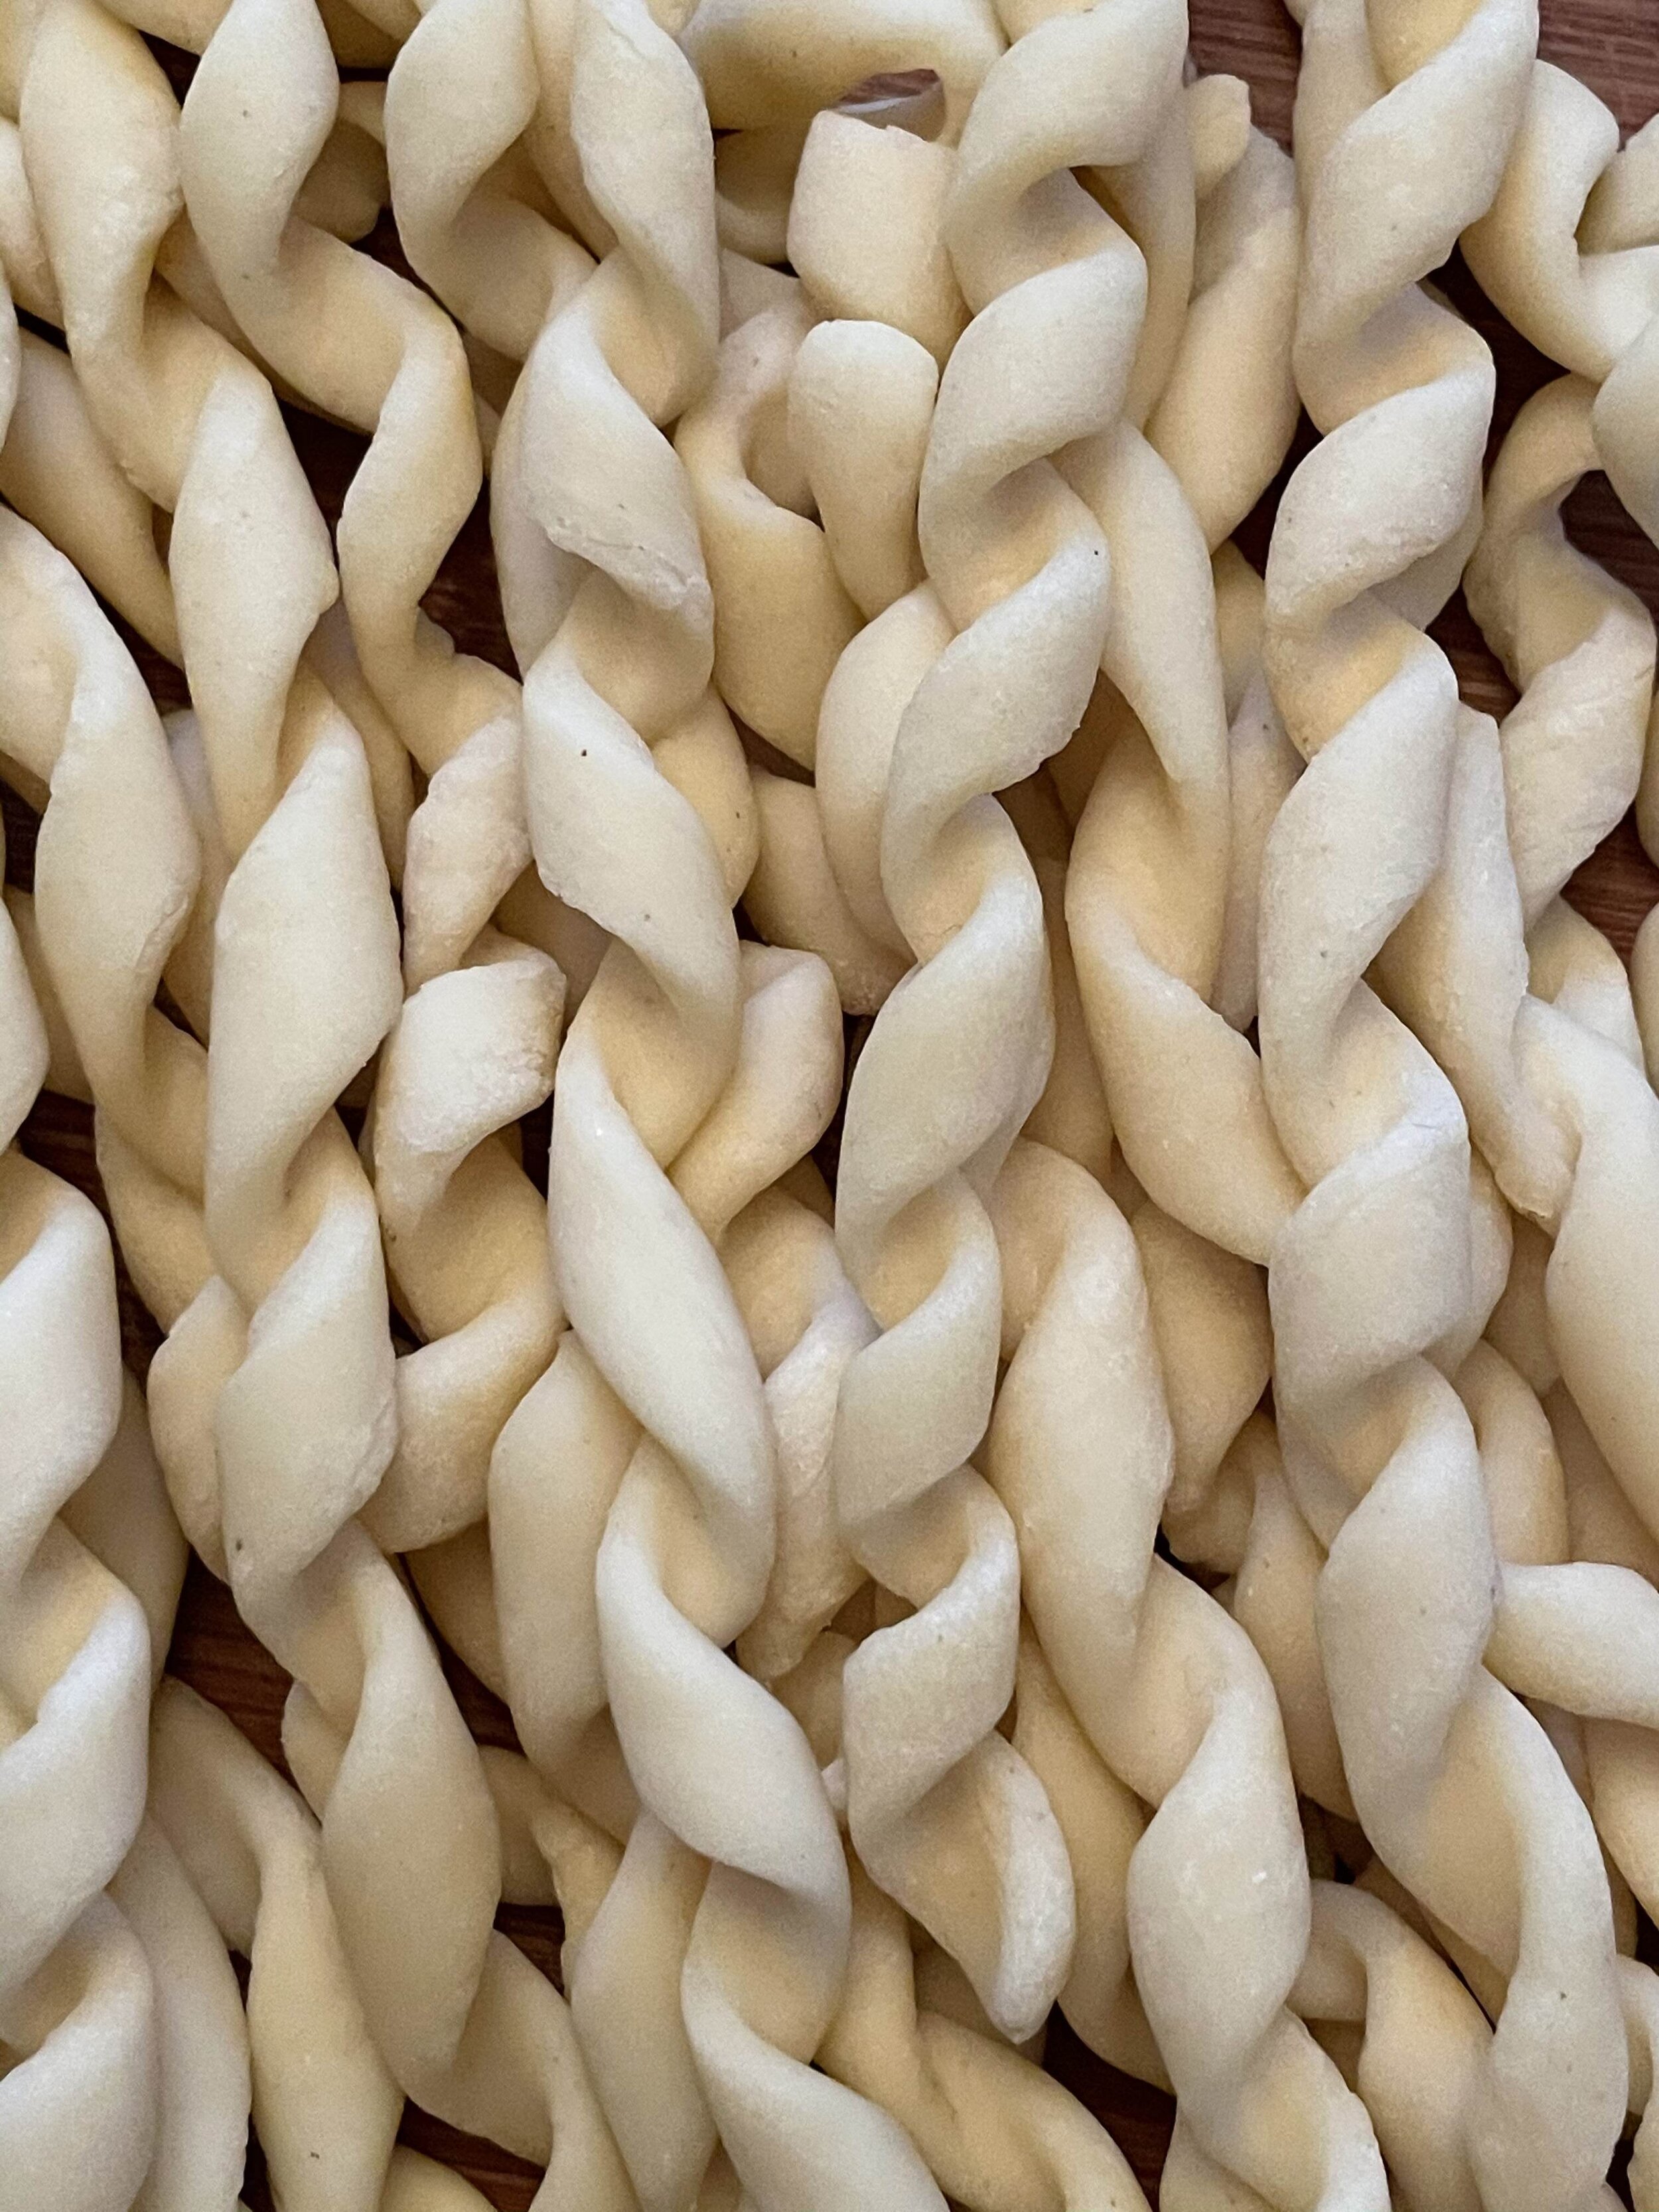
Busiate are one of my favorite shapes. Made with just semola flour and water, they don’t really require any special equipment. They are doughy and chewy (in a good way!), their coils hold on to lots of sauce, and they are satisfying and fun to eat and make.
The name busiate comes from the Sicilian busa, which is said to come from the Arabic name of a plant whose stem was used for both pasta making and knitting. Busiate have been eaten since the 10th century, and you can still find Sicilians today who gather a busa to use. It’s also common to see people use thin knitting needles, or substitute with a wooden skewer, as I do in this recipe.
Busiate are a star of Sicilian cuisine, especially around the Trapani area, but are also popular throughout Calabria. They are often served with pesto all trapanese, which is made with raw tomato, basil, and almonds. I had half a jar of sun-dried tomatoes in my fridge, so I took inspiration from that pairing and decided to make a different kind of pesto rosso.
I generally prefer a red pesto to the more commonly known green version - 9 times out of 10 I find the hint of sweetness from tomato to be much more appealing than the stronger basil-and-garlic-heavy pesto alla genovese.
To make this dish you will need:
One batch of semola pasta dough. Remember that the ratio for semola pasta is 2:1 flour to water, so you can easily scale as needed. For the amount of pesto made in this recipe, I suggest doing:
400g durum wheat flour (semola rimacinata)
200g water

Sun-dried tomato pesto:
100g sun-dried tomatoes
one bunch of basil
50g skinless almonds (I ended up doing a combination of 40g almonds and 10g pine nuts, but 100% almonds perfectly too)
1 garlic clove
50g Pecorino Romano cheese
Extra virgin olive oil
Salt and pepper
Start by making your pasta dough. If you need instruction on the technique, check out this page on the basics of fresh pasta.
Usually, I start a pasta’s sauce while the dough is resting, but since pesto is quick to make and can oxidize and slightly change color when sitting out over time, I suggest waiting until after you have made all your busiate. Once your dough has rested for at least 30 minutes, you can go straight into shaping.
I used a wooden skewer to mimic the traditional busa. In theory any long, thin rod will do, but I think the wood from the skewer creates the best texture. It’s also easy to slide each finished busiata off of the skewer, as the wood helps absorb extra moisture and has a texture that discourages sticking.
There are two ways to make busiate. A lot of people roll out the dough into a flat disk, cut it into strips, and then roll each strip before curling them down their stick. I prefer an easier alternative, that’s still a perfectly acceptable and traditional method.
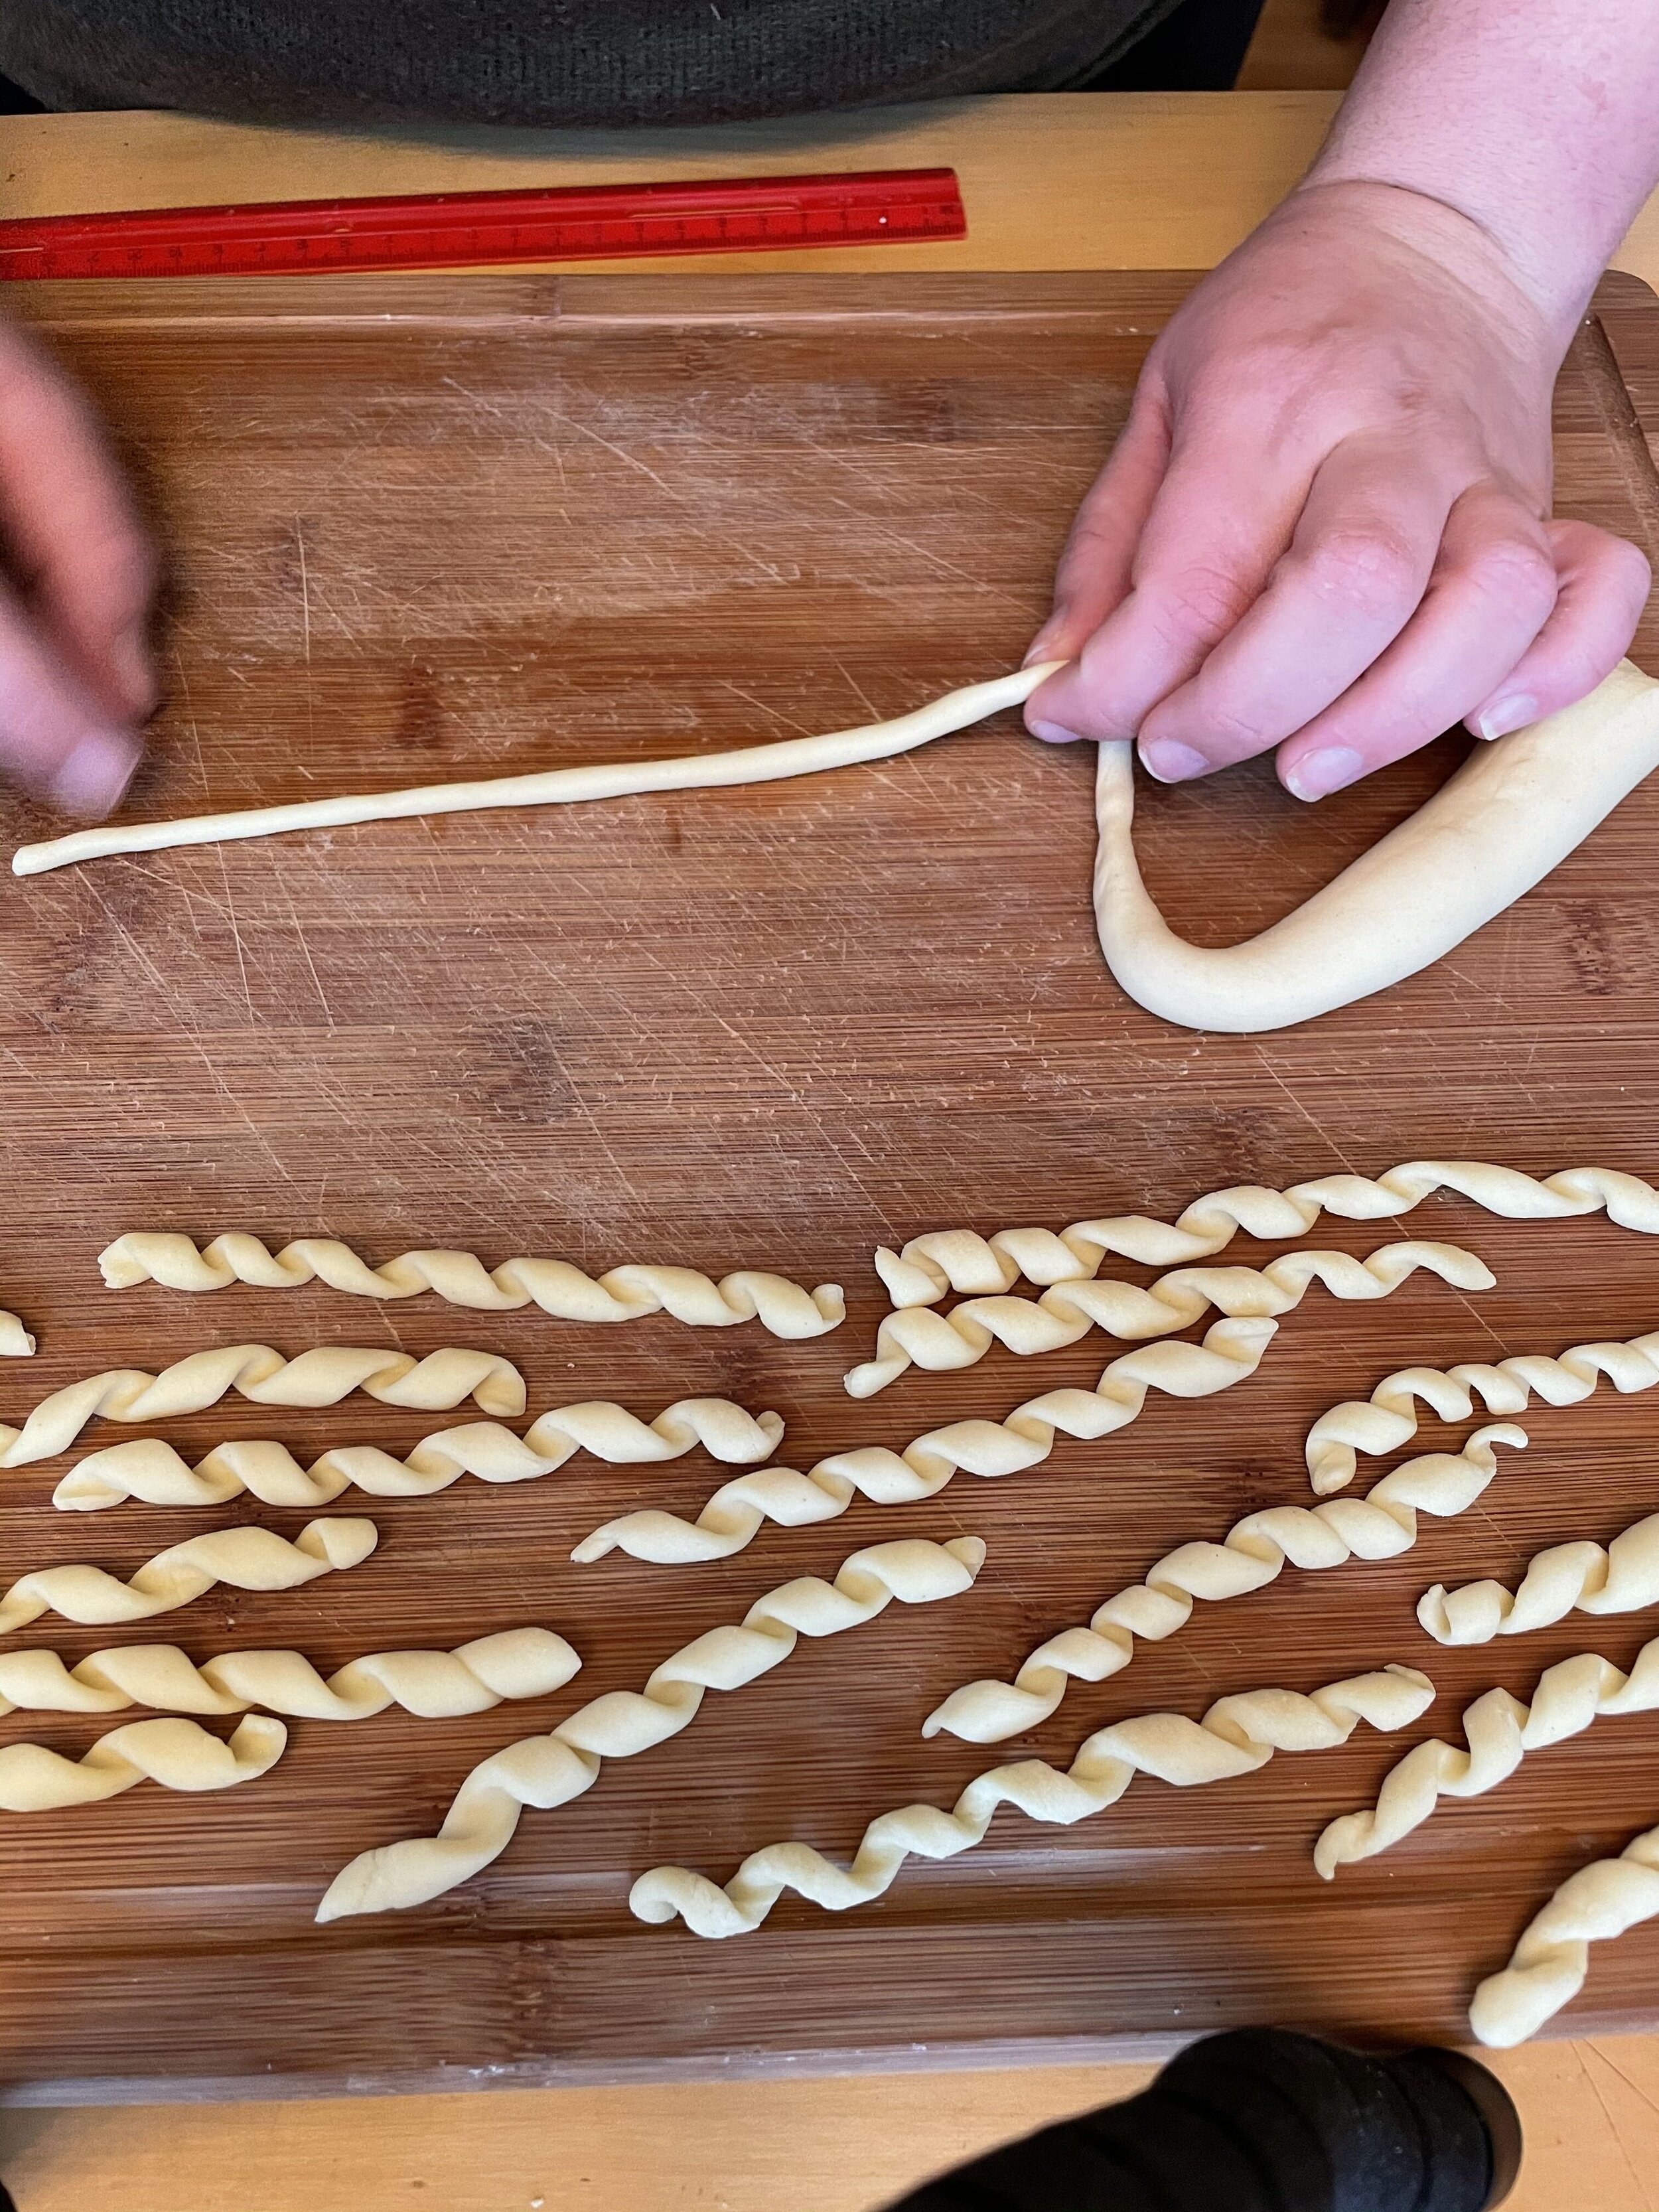
Start by cutting off a small chunk of dough, keeping the rest covered under plastic or a dish towel. Begin working the dough, rolling it out into a thin rope that is still connected to the main piece. I prefer a thickness that is somewhere thinner than a pencil, but thicker than my skewer. You can experiment a bit and see what works best.
Pinch your rope of pasta off of the main piece of dough, at a length of about 20cm/7.5-8 inches.
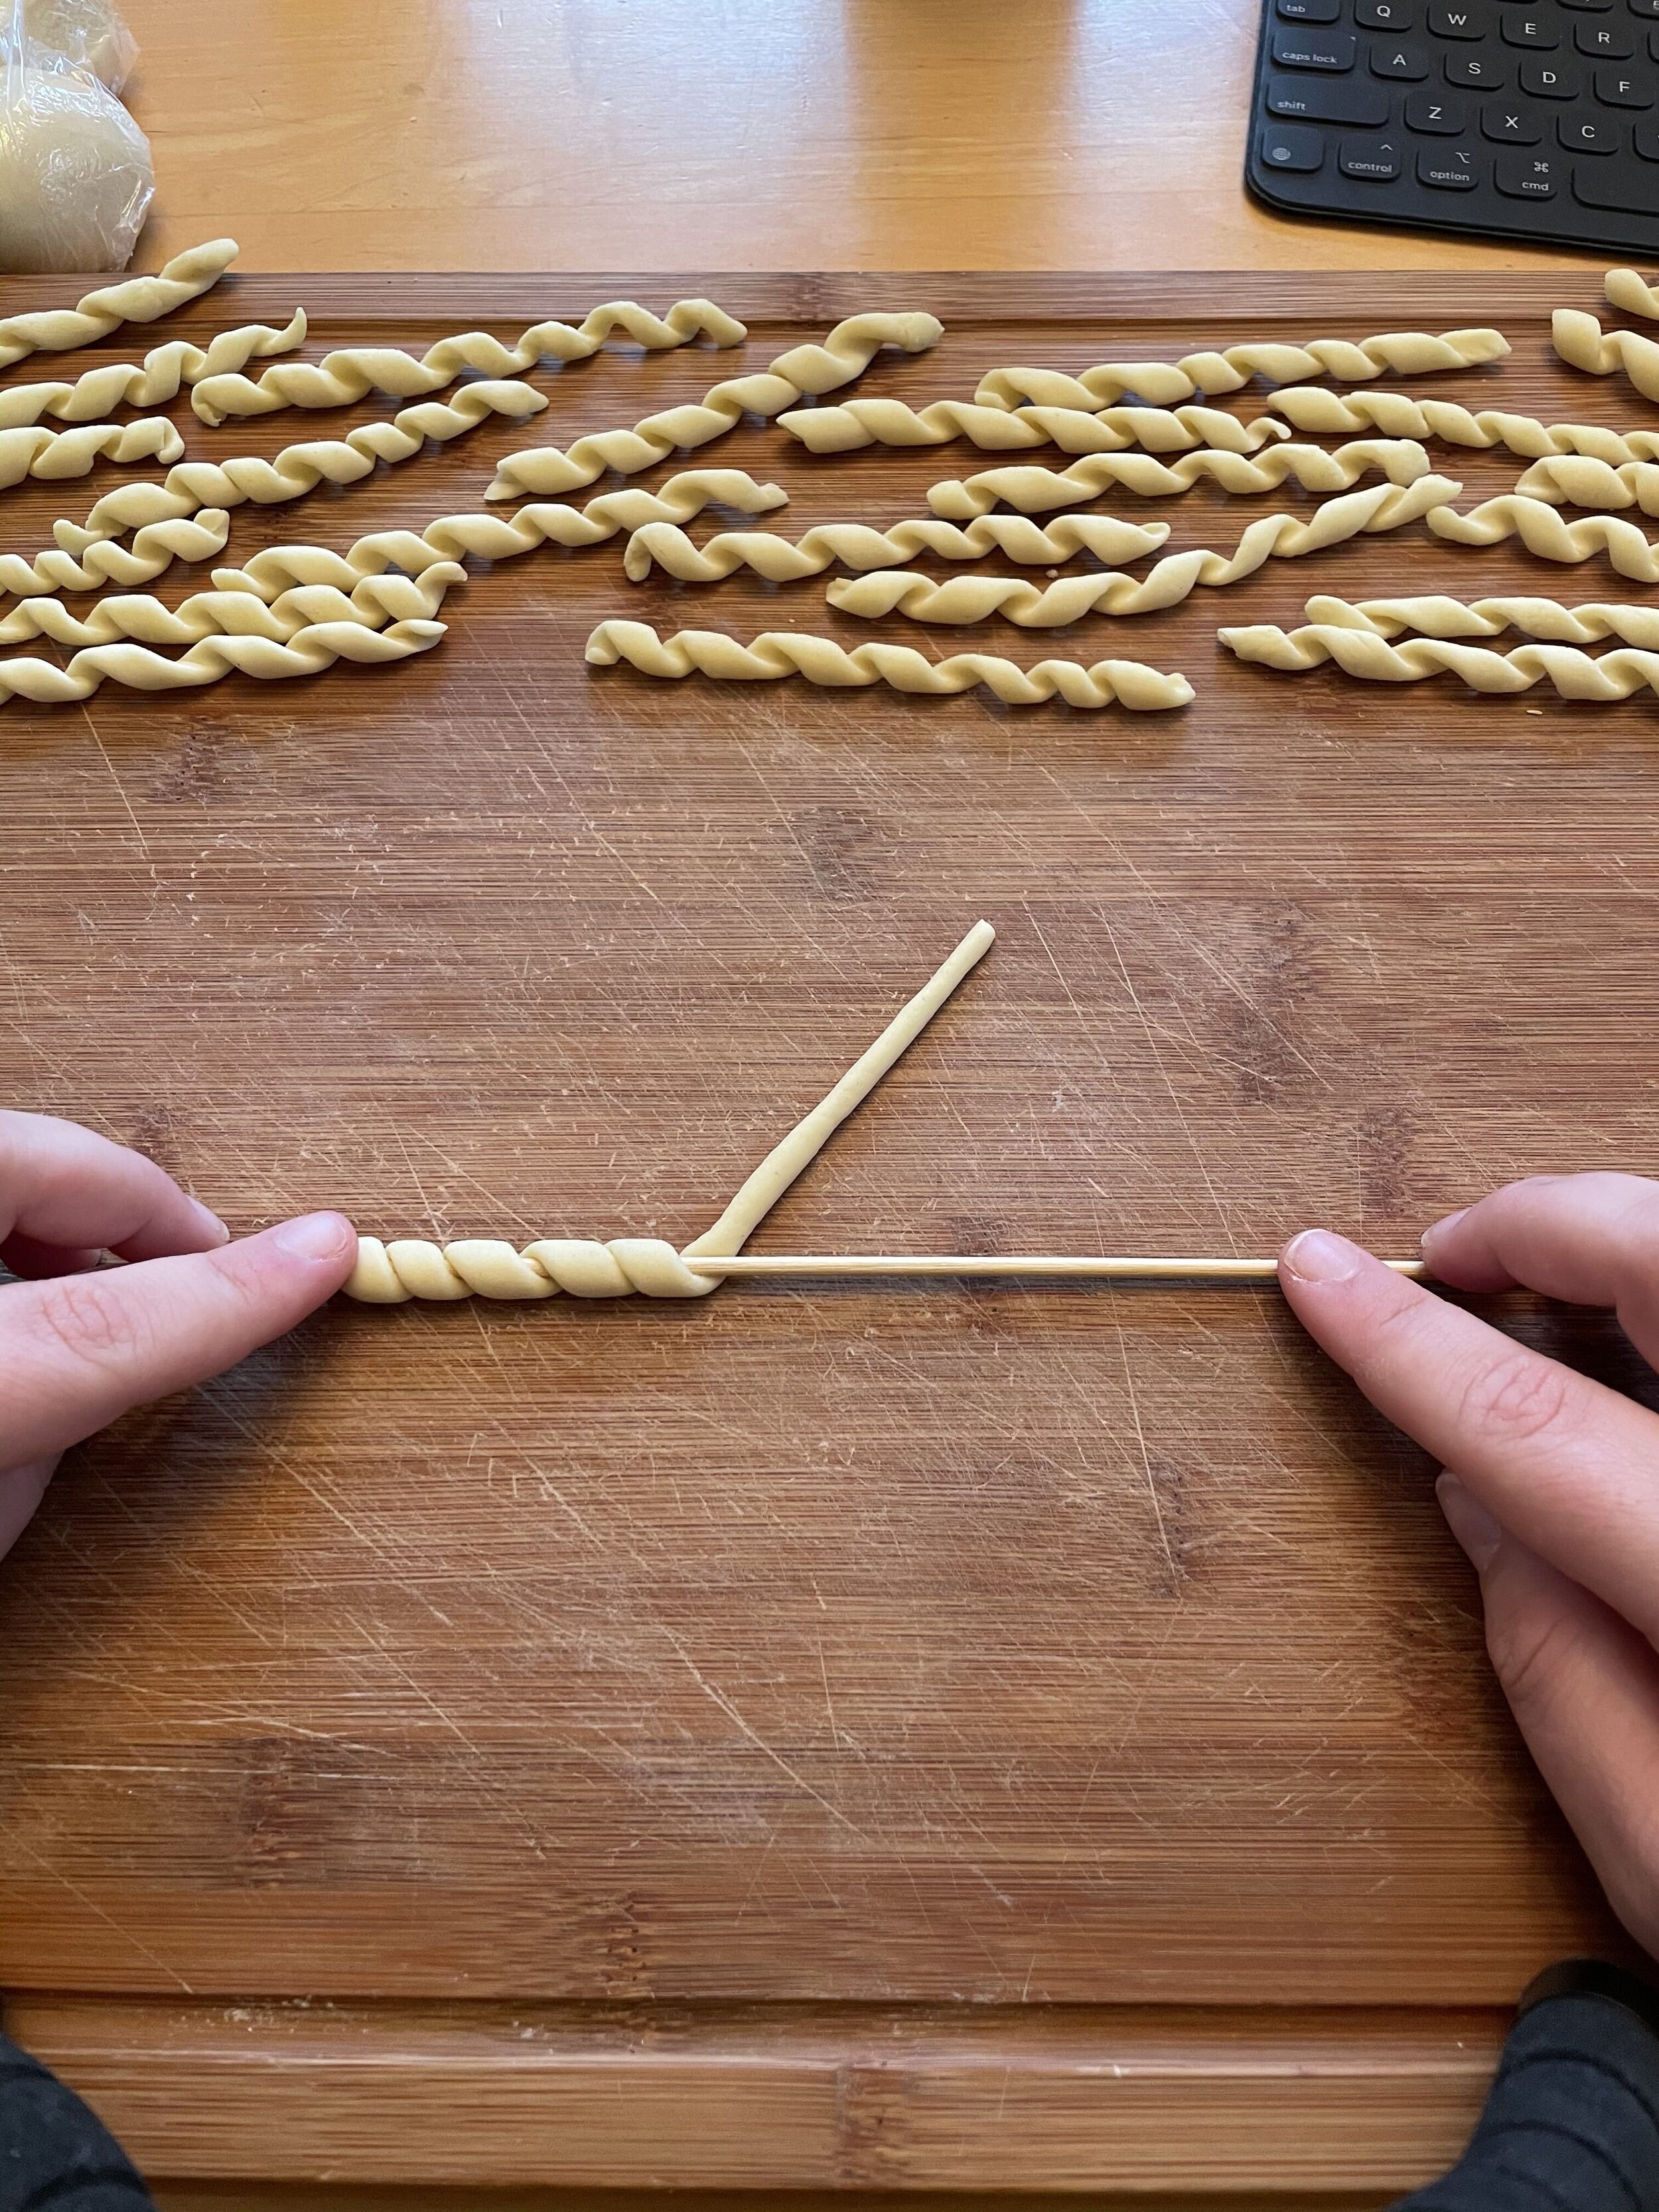
Place your dough on your board, at a 45 degree angle from your skewer. Some people like to roll down towards them, but I prefer to start the skewer at the ‘bottom’ of the rope, nearest to me, and roll up and away (as shown below).
Carefully loop the pasta around your skewer to get it started, and then gently roll up, maintaining the 45 degree angle so the pasta doesn’t loop too tightly or too loosely. I find it helpful to gently use my left hand to guide the pasta that has already been rolled onto the skewer, so it keeps its positioning, and keep my right hand on the skewer itself. Try not to apply too much pressure here. We want the pasta to curl without completely flattening.


Once you have rolled the entire length of your rope, you can easily slide it off of your skewer. Continue rolling ropes and curling them around your skewer until all the dough has been used.
You can leave your finished busiate on your board or on a tray under a kitchen towel. Make sure they are given a little time to dry slightly - just enough so that they will hold their tight shape while cooking.
This is another reason to make your pesto after you shape your busiate. Once the pesto is done and your pasta water is boiling, the busiate should be ready to go!
After putting your pasta water on the stove, combine the sundried tomatoes, basil, garlic clove, and nuts in a food processer. Pulse until you have a slightly chunky but homogenous paste, as seen below. You can then add in your Pecorino Romano cheese, and salt and a little pepper to taste. Then, turn on the food processer, and stream in extra virgin olive oil until you reach the desired consistency.
There is a little room here to suit the pesto to your preferences. Some people prefer it looser than others, but make sure not to make it too oily. We will add in some pasta water later on, so keeping the pesto on the drier side at this point is best. I would say I used about a quarter cup of olive oil, but refer below and try to match your pesto to the consistency seen in the photos on the bottom row.


Once your pesto is smooth and fully blended, taste it for seasoning, and then spoon into a heatproof bowl.
Salt your water and drop in the busiate, giving them a stir, so they don’t stick. They will likely need 3-5 minutes to cook. Give one a taste before draining. They should be chewy but still tender, and without too much of a bite in the center. I use tongs to transfer them directly to my bowl of pesto, so that some pasta water is automatically added. If you prefer to drain your pasta completely, just be sure to reserve a cup of the pasta water before doing so.
Mix the busiate into the pasta. The pasta water will help to loosen the pesto and emulsify it, resulting in a creamier sauce. I had to add a few extra spoonfuls of pasta water even after just draining the pasta with tongs to achieve the desired consistency. Your sauce should slightly lighten in color, and should be thin enough to coat each busiata without completely masking the lines of the pasta’s curls.
Top with some extra cheese if desired, and enjoy!
